 |
| Gyro Sausage |
Otto Von Bismark said, "Laws are like sausages, It's better not to see them being made." This implies two things: don't be active in politics and that you shouldn't want to see sausages being made. I dunno about you but I want to know exactly what I am putting in my body, so that's one reason to bother.
A second reason to bother comes from the long history of sausage. It's recorded history is as old as European civilization and it's almost instant popularity made it a popular topic for scribes at the time. It has endured since then for the same reasons we like it today:. It's easy to make, carry, and once cured it lasts at room temperature without spoiling for some time.
Sausages are easy to cook, easy to eat, and are portable. They're nearly the perfect food.
Sausages are easy to cook, easy to eat, and are portable. They're nearly the perfect food.
Getting Started
Getting started for me was a ~60 dollar investment. I purchased the Kitchen-Aide attachment for my Kitchen-Aide mixer. This is an acceptable place to start and many of the how to guides I read started there. For 60 dollars I got the attachment and the tubes for stuffing.
First Time link
My first attempt produced a sausage and all in all it turned out pretty poor. The texture was all wrong. This probably had to do with the temps involved. The Kitchen-Aide wasn't up to the task of grinding the meat as it warmed up and so it smeared. So the longer it took to "grind" the warmer it got. This created a failure loop where my failures began to compound. Lesson learned: when they say in the freezer for an hour what they mean is in the freezer for an hour. This also mean use meat in batches to keep it cold. I've also taken to putting meat in a bowl, and putting that bowl into a bowl of ice.
Second Time link
Second time went much better, the grinding took about 1/4 of the time and the texture was much improved but still not perfect. Lesson Learned: Include more fat, I think it might have needed to be even colder. Or taken from the freezer in smaller batches.
Back to the drawing board?
I wanted the to make more & better sausages so after Christmas I got a 3rd party upgrade kit for my Kitchen-Aide grinder. I'd recommend a 3rd party blade like this one because it's clearly better than the one that comes with the meat grinder.
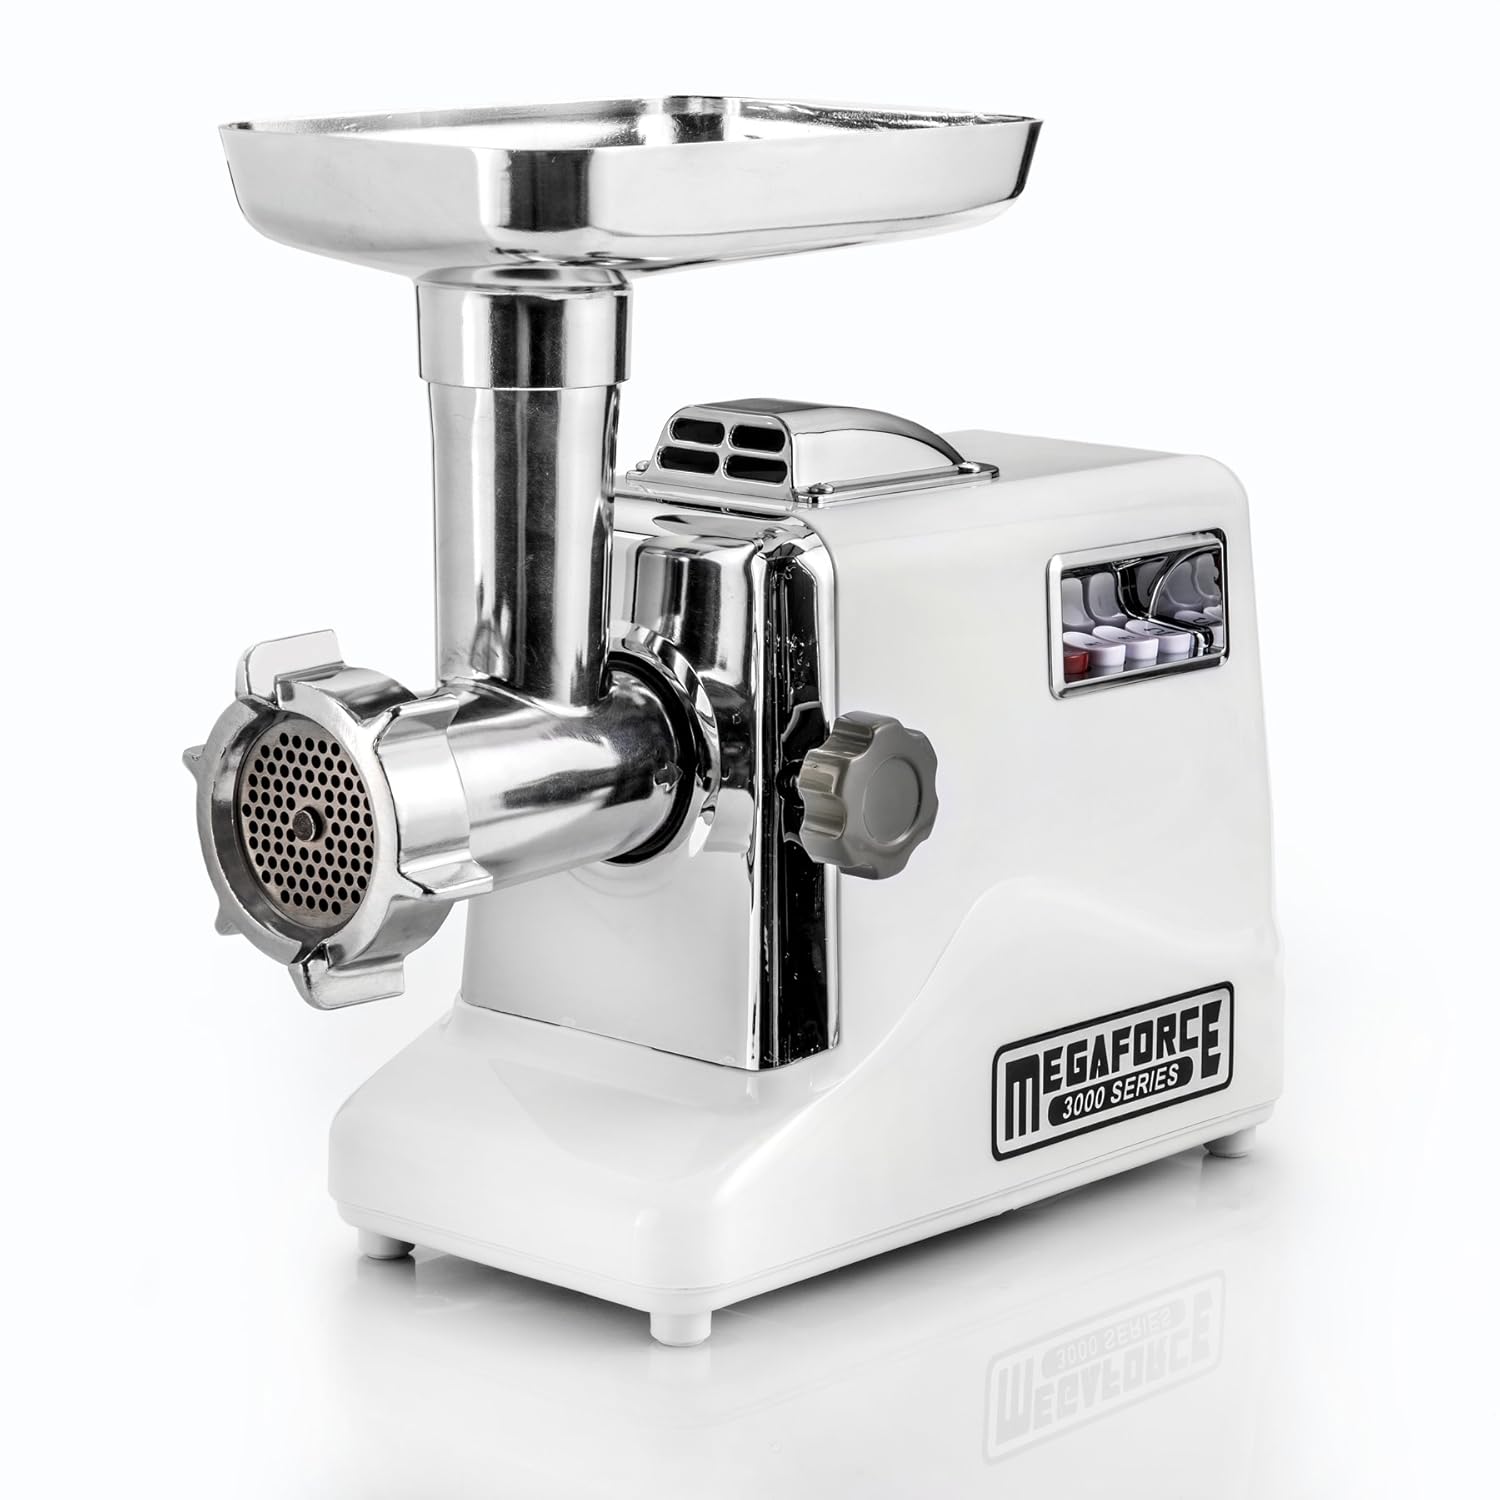 Then from out of nowhere the best fiance ever got me this for late Christmas. The STX Megaforce has a much larger bore. It is also made from nearly all metal; so it should get cooler in the freezer. So going forward I'll be using that instead of the Kitchen-Aide attachment.
Starting Over Process and Advice:
Rule #1: Pounds of Meat = Pounds of Sausage
Rule #2: Keep it cold... No seriously cold ~32f
Rule #3: 20% Fat is the Minimum
Rule #4: Salt is important
Those are the basics and this is my new process.
Step 1: Prepare the Meat
Cut the meat and fat into usable chunks, add any rubs, or marinates. Let it chill in the fridge for as long as you want it to marinate. (30 minutes to overnight)
Step 2: Get everything ready before you start
This seems simple but have everything ready, cleaned, and within reach. Once you start you won't want to be looking for tools or searching for spices.
Step 3: Get Everything Cold
Put everything in the freezer an hour before you plan to start. The grinding head is the piece of your grinder that you can chill to keep everything cold while you grind.
Step 4: Grind the Meat
No if's and's or but's. You've just got to grind it. Keep it cold! You've got to do this or it ruins the texture. You can get it out of the freezer in batches if you're not moving very fast. Heat and time are your enemy, be conscious of them.
Step 5: Get it Cold Again; Mix in Anything Else
Mix in your spices, and binders. Put the meat and if you can the grinder head back in the freezer.
Step 6: Prep the Casings
You want to rinse the casings inside and out and put them onto the stuffing tube.
Step 7: Stuff it, Stuff it good, but Not Too Much.
You don't want to over stuff it but you do want it in there tight. Leave about a six in tail when you start so that you can fart the sausage as need be. Stuff it fast, and don't let it get warm until it's in the casing. otherwise the fat will smear and you won't get that well bound fatty meaty texture.
Step 8: Let it Bind
Let it sit at room tempreture for an hour to melt the fat and melt everything in the pressure of the casings. Use a sterile needle to pop any air pockets. A little prick will do.
Step 9: Let it Bloom
Put it in the fridge and continue to let it mesh for 24 hours before eating it. It'll just keep getting better. Eat it fresh or freeze it. As always cook your food or risk spoilage infections.
Step 10: Eat it
Enjoy what you make or you'll lose the will to continue.
Look for more sausage recipes soon!
Back to the drawing board?
I wanted the to make more & better sausages so after Christmas I got a 3rd party upgrade kit for my Kitchen-Aide grinder. I'd recommend a 3rd party blade like this one because it's clearly better than the one that comes with the meat grinder.
Then from out of nowhere the best fiance ever got me this for late Christmas. The STX Megaforce has a much larger bore. It is also made from nearly all metal; so it should get cooler in the freezer. So going forward I'll be using that instead of the Kitchen-Aide attachment.Starting Over Process and Advice:
Rule #1: Pounds of Meat = Pounds of Sausage
Rule #2: Keep it cold... No seriously cold ~32f
Rule #3: 20% Fat is the Minimum
Rule #4: Salt is important
Those are the basics and this is my new process.
Step 1: Prepare the Meat
Cut the meat and fat into usable chunks, add any rubs, or marinates. Let it chill in the fridge for as long as you want it to marinate. (30 minutes to overnight)
Step 2: Get everything ready before you start
This seems simple but have everything ready, cleaned, and within reach. Once you start you won't want to be looking for tools or searching for spices.
Put everything in the freezer an hour before you plan to start. The grinding head is the piece of your grinder that you can chill to keep everything cold while you grind.
Step 4: Grind the Meat
No if's and's or but's. You've just got to grind it. Keep it cold! You've got to do this or it ruins the texture. You can get it out of the freezer in batches if you're not moving very fast. Heat and time are your enemy, be conscious of them.
Step 5: Get it Cold Again; Mix in Anything Else
Mix in your spices, and binders. Put the meat and if you can the grinder head back in the freezer.
Step 6: Prep the Casings
You want to rinse the casings inside and out and put them onto the stuffing tube.
Step 7: Stuff it, Stuff it good, but Not Too Much.
You don't want to over stuff it but you do want it in there tight. Leave about a six in tail when you start so that you can fart the sausage as need be. Stuff it fast, and don't let it get warm until it's in the casing. otherwise the fat will smear and you won't get that well bound fatty meaty texture.
Step 8: Let it Bind
Let it sit at room tempreture for an hour to melt the fat and melt everything in the pressure of the casings. Use a sterile needle to pop any air pockets. A little prick will do.
Step 9: Let it Bloom
Put it in the fridge and continue to let it mesh for 24 hours before eating it. It'll just keep getting better. Eat it fresh or freeze it. As always cook your food or risk spoilage infections.
Step 10: Eat it
Enjoy what you make or you'll lose the will to continue.
Look for more sausage recipes soon!
No comments:
Post a Comment